1. Open the image BMW.
2. Adjust the brightness to 51 an contrast to 36 by select an image toolbar
3. Image > Adjustment > Brightness / Contrast.
4. Set the Vibrance to 84 and saturation as 70.
5. To choose Vibrance, go to toolbar for Layer > New Adjustment Layer > Vibrance.
6. To choose Saturation, go to toolbar for Layer > New Adjustment Layer > Saturation.
7. Save the file .psd
8. Save the file .jpeg

before

after
PICTURE 2 (HAND / CROP / ROTATE /BLACK&WHITE)
1. Choose and open the picture file.
2. Crop the picture to focus on the hand only and cut-out the dark area.
3. Over exposed the picture by adjusting the contrast extremely.
4. Adjust the brightness and contrast by selecting an image toolbar.
5. Image > Adjustment > Brightness / Contrast.
6. Change the colour of the picture to black and white by select an image toolbar.
7. Image > Adjustment > Black & White or Image > Mode > Grayscale.
8. Texturize the picature by select a Filter toolbar.
9. Filter > Filter Gallery > Texturize > Texturizer.
10. Save the image.
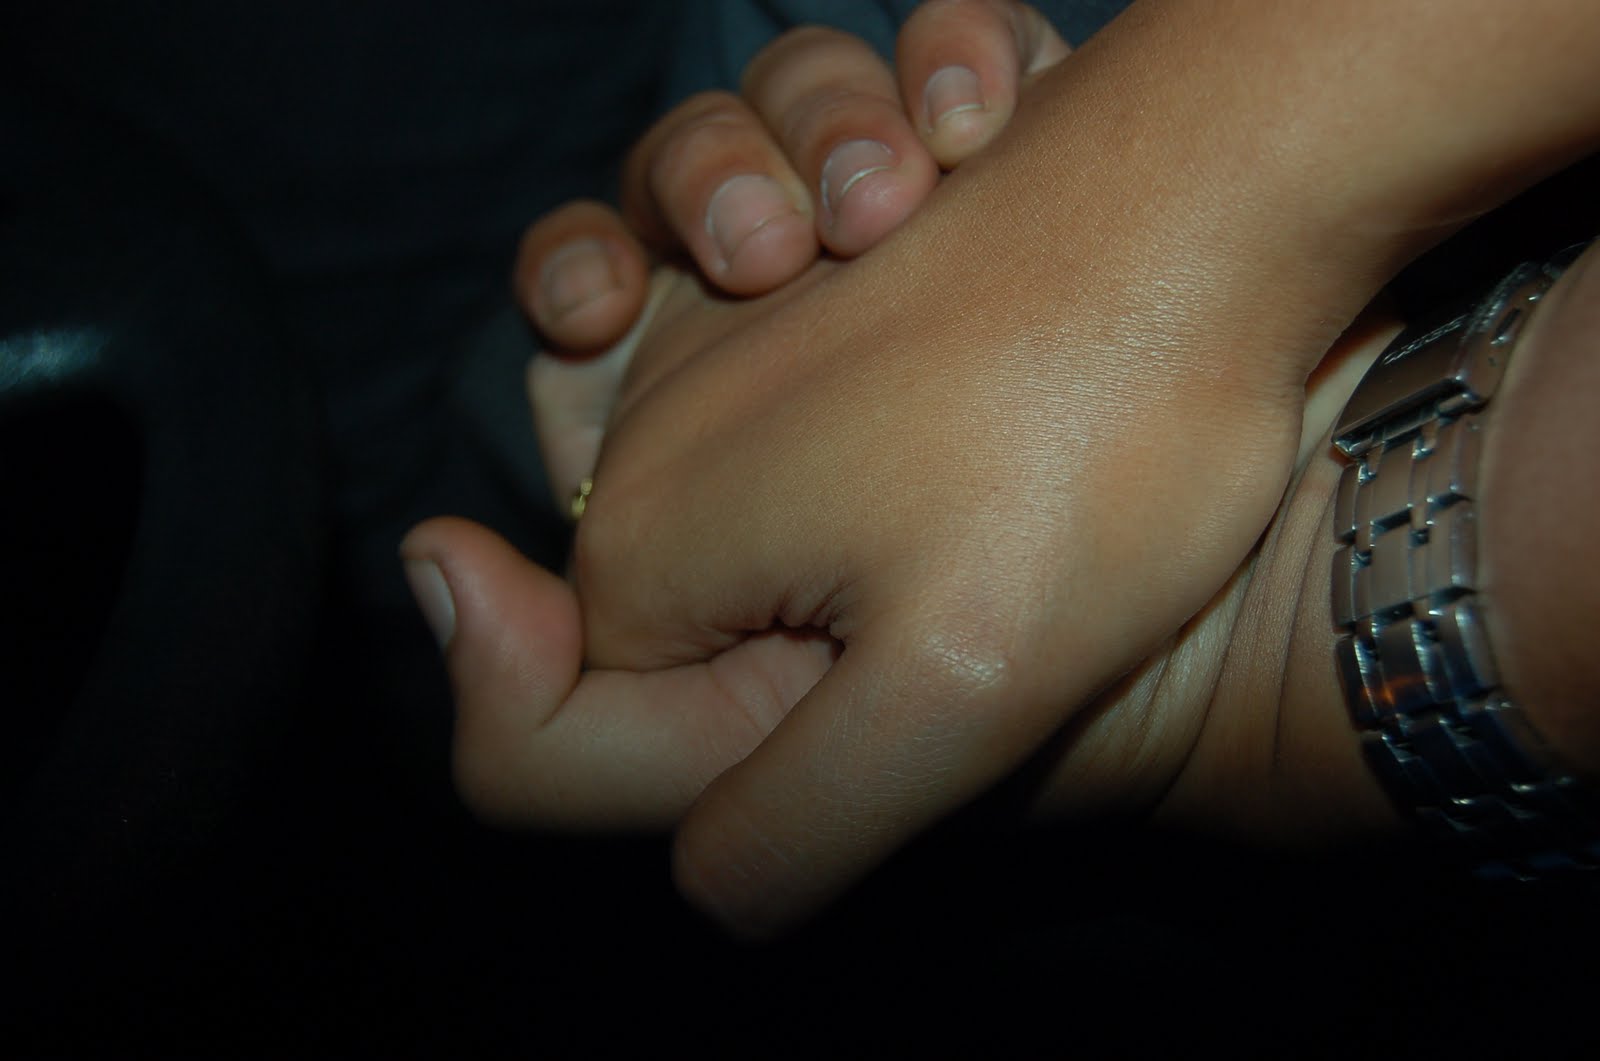
before

after
PICTURE 3 (Sheikh Muzaffar / Combine / Resize / Transform / Rotate)
1. Open a landscape picture as a background.
2. Open a portrait image of me.
3. Open a picture of TokJoFamily.
4. Open a shoe picture.
5. Create four new layer by select Layer toolbar
6. Layer > New > layer
7. Select me on image picture of me by using a quick selection tool.
8. After all the image has been selected, choose from toolbar Select > Inverse. Now only selected picture of me were active.
9. Drag a picture of me on the first new layer.
10. Select a picture of Dr.Sheikh Muzaffar Shah on picture of TokJoFamily by using a quick selection tool.
11. After all the image has been selected, choose from toolbar Select > Inverse. Now only selected picture (Dr.Sheikh Muzaffar) were active.
12. Drag a picture of me on the second new layer.
13. Adjust the Dr.Sheikh Muzaffar to be sit on the shoulder of me.
14. Select as shoe on image picture of shoe by using a quick selection tool.
15. After all the image has been selected, choose from toolbar Select > Inverse. Now only selected picture of shoe were active.
16. Drag a picture of shoe on the third new layer.
17. Adjust and make it looks like it the shoe is wear by Dr. Sheik Muzaffar.
18. Repeat step 14 to 17 to make the shoe as pair.
19. Once everything in place perfectly, adjust the brightness and contrast accordingly.
20. Finally, adjust the brightness and contrast for background to make it as a real picture.


pic 1

pic 2
pic 3

pic 4

picture after the combination
PICTURE 4 (Peace@Tasek Contrast - Photo Filter (oren) – Hue & Saturation)
1. Open a picture from the folder as a background.
2. Select a tudung area (which is in chocolate colur) by using a magic wand tool.
3. After all the chocolate area has benn selected, select layer from toolbar.
4. Layer > New Adjustment Layer > Hue/Saturation.
5. Once the Hue/Saturation toolbox appear, drag the small icon on the hue and saturation and take note on the colour changes of the tudung.
6. Choose the new of tudung’s colour that we want.
7. Use a blur tool from toolbox on the left hand side to blur the mix colour of chocolate and the colour that we have choose before.
8. By using a blur tool, it makes the image is originally in purple colour as below.
9. Select the photo filter as orange from the toolbar and choose orange colour to make it sunny.
10. Adjust the curves to control the colour and play with the light.
11. Save the picture.

before

after
PICTURE 5 (McD / combine / Edit - Transform – Warp)1. Open a portrait image of McD.
2. Open a landscape image of ponds.
3. Select a picture of Mc Donalds signboard on the picture of McD by using a magic wand tool.
4. After all the image has been selected, choose from toolbar Select > Inverse. Now only selected picture (Mc Donalds signboard) were active.
5. Drag a picture of McDonalds signboard on the ponds wall.
6. Adjust the McD signboard to make it straight by select an Edit toolbar.
7. Edit > Transform > Warp
8. The application allowed us to adjust on each corner and the centre of the image.
9. Repeat step to 7 for the second McD signboard.
10. Erase on the below of the signboard to make it looks like the pile was soiled deep in the water.
11. Set the photo filter as orange.
12. Save the picture.

pic 1

Pic 2

PICTURE 6 (Shadow / Pattern / Grid)
Open the image first
Make a grid (File > new > width & height = 500 pixels).
Select > select all > edit > stroke > width = 1px and tick inside.
Select edit > define pattern > save & close.
Insert new layer, select edit > fill > select pattern that you have created before (grid).
Press ctrl + I (to make it black).
Use crop tool to remove uneven area (you will get 7 x 5 image).
Separate each square to each layer. Use magic wand & select the first square > copy > paste in each layer. Do this to the next 34 layer.
Use shortcut using Actions. Select Window > actions > create new action > name it > click record.
Click on background layer > press ctrl + J (to copy selection into new layer) > press 8 (to make layer opacity = 80%.
Click on grid layer (top layer).
Click stop button.
Click on second square using magic wand tool > click action (created before) . click play button. Repeat this process until the last square.
Make a new layer and fill it with white (the picture will look washout and has a white line).
Click move tool > tick auto-select. Start click at centre square of the image and arrange it (make it overlapped with each other).
Style the layer, on top left corner square > select fx at layer properties > select drop shadow > hold the key on the fist layer and drag fx down to every single layer.
Click on any of the square and press ctrl + J (make it a little bit darker).
Save file.


Combination of 2 pic
Book Cover


•Tools :
–Background colour
–Combine
–Transform
–Text
•Text Effect
–Drop Shadow
–Outer Glow
•Typography = Bauhaus 93
•Size = 72
•Text Colour = Black
good try... =D
ReplyDelete